Why You’ll Love This Recipe
If you adore peanut butter and crave a dessert that’s both decadent and effortless, this no-bake peanut butter lasagna is going to be your new go-to treat. It’s a luscious, layered dessert made with a crushed cookie base, creamy peanut butter filling, and a smooth chocolate topping — no oven required. Every bite offers a perfect balance of sweet, salty, and creamy flavors that melt in your mouth. I once tried this using almond butter instead of peanut butter, and it turned out beautifully — slightly nuttier and just as indulgent. The best part? It looks impressive yet takes minimal effort to assemble. Perfect for parties, potlucks, or when you just need a no-bake fix, this peanut butter lasagna is pure dessert bliss.
PrintNo-Bake Peanut Butter Lasagna: A Creamy, Dreamy Dessert for Every Occasion
- Total Time: 4 hours 25 minutes (including chilling)
- Yield: 12 servings
- Diet: Vegetarian
Description
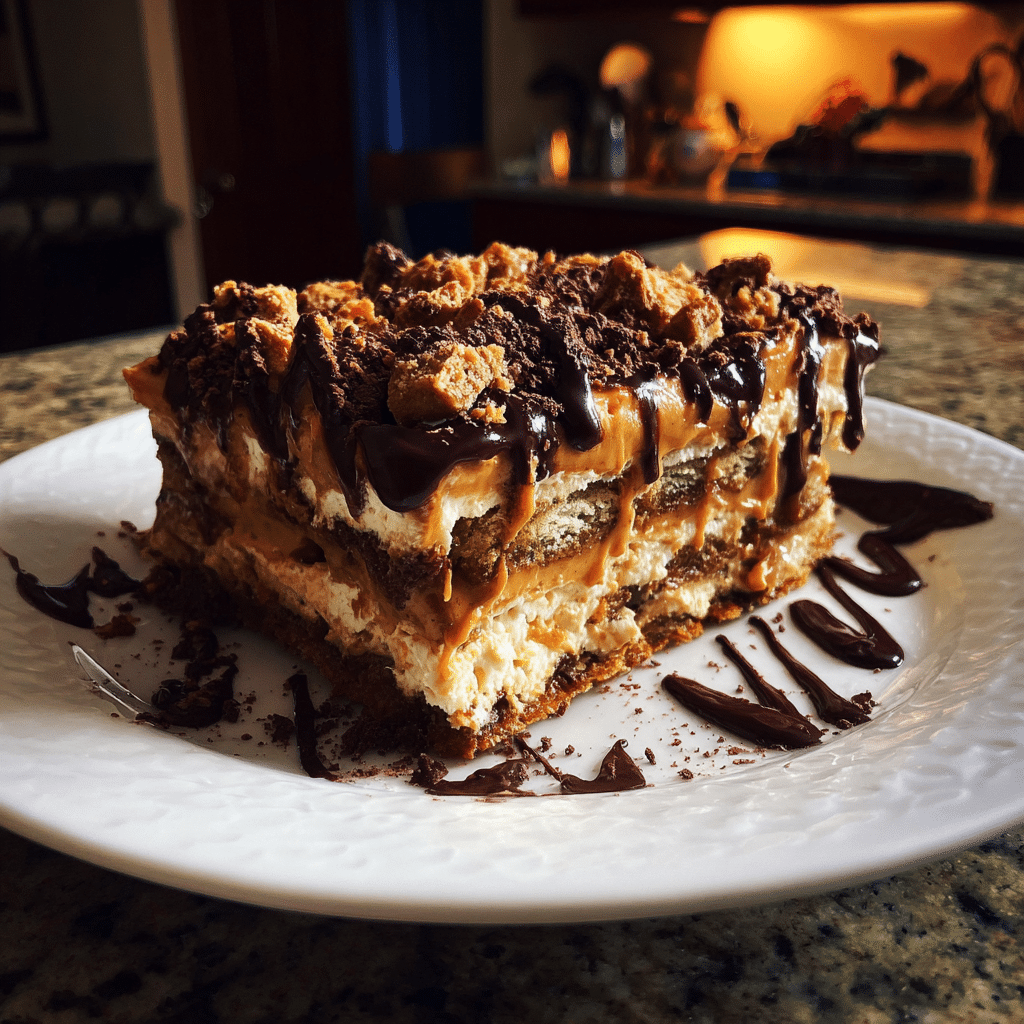
No-Bake Peanut Butter Lasagna is a decadent layered dessert featuring a creamy peanut butter filling, chocolate pudding, and a crunchy cookie crust. It’s an easy, crowd-pleasing treat that requires no oven and delivers rich, indulgent flavor in every bite.
Ingredients
- 1 package (14 oz) chocolate sandwich cookies (like Oreos), crushed
- 1/2 cup unsalted butter, melted
- 1 package (8 oz) cream cheese, softened
- 1 cup creamy peanut butter
- 1 cup powdered sugar
- 1 container (8 oz) whipped topping (Cool Whip), divided
- 2 packages (3.9 oz each) instant chocolate pudding mix
- 3 cups cold milk
- 1/4 cup mini chocolate chips (optional)
- 1/4 cup chopped peanuts (optional)
Instructions
- In a medium bowl, combine crushed chocolate cookies and melted butter. Press mixture evenly into the bottom of a 9×13-inch dish to form a crust. Refrigerate while preparing the filling.
- In a large bowl, beat cream cheese, peanut butter, and powdered sugar together until smooth and creamy.
- Fold in half of the whipped topping until well combined. Spread this peanut butter layer evenly over the chilled crust.
- In another bowl, whisk together chocolate pudding mix and milk for 2 minutes until thickened. Spread pudding mixture over the peanut butter layer.
- Top with the remaining whipped topping, spreading evenly across the surface.
- Sprinkle with mini chocolate chips and chopped peanuts for garnish.
- Cover and refrigerate for at least 4 hours (or overnight) before serving for best texture.
Notes
- Use crunchy peanut butter for added texture if preferred.
- For a lighter version, use low-fat cream cheese and sugar-free pudding mix.
- Chill overnight for the best flavor and firm layers.
- Store covered in the refrigerator for up to 4 days.
- Prep Time: 25 minutes
- Cook Time: 0 minutes
- Category: Dessert
- Method: No-Bake
- Cuisine: American
Ingredients
(Tip: You can find the complete list of ingredients and their measurements in the recipe card below.)
Chocolate sandwich cookies – Crushed into fine crumbs to create a rich, chocolatey base. They provide the perfect texture contrast to the creamy layers above.
Butter – Melted butter binds the cookie crumbs together to form a firm crust that holds up beautifully when chilled.
Cream cheese – Adds a smooth, tangy element that balances the sweetness of the peanut butter and whipped topping. Be sure to use it at room temperature for easy mixing.
Peanut butter – The star of the show. Use creamy peanut butter for a velvety texture or chunky for a bit of crunch.
Powdered sugar – Sweetens and stabilizes the peanut butter layer while keeping it light and airy.
Whipped topping (like Cool Whip) – Creates that signature fluffy texture in both the peanut butter and chocolate layers. Homemade whipped cream can also be used for a richer taste.
Instant chocolate pudding mix – Forms the smooth, decadent chocolate layer. The contrast of chocolate and peanut butter is simply irresistible.
Cold milk – Needed to prepare the pudding layer; whole milk or 2% works best for a creamy consistency.
Mini chocolate chips or crushed peanuts (optional) – For garnish and a touch of crunch on top.
Chocolate syrup (optional) – A drizzle of syrup adds an elegant finish and extra chocolatey flair.
Directions
Start by making the crust. Crush the chocolate sandwich cookies in a food processor until fine crumbs form. Mix with melted butter until well combined, then press the mixture firmly into the bottom of a 9×13-inch dish. Refrigerate while you prepare the layers.
For the peanut butter layer, beat together the cream cheese, peanut butter, and powdered sugar until smooth and creamy. Fold in half of the whipped topping gently until fully incorporated. Spread this mixture evenly over the chilled crust.
Next, whisk the instant chocolate pudding mix with cold milk for about 2 minutes until it thickens. Let it sit for another 2–3 minutes, then spread it evenly over the peanut butter layer.
Top the pudding layer with the remaining whipped topping, smoothing it out for a beautiful finish. Garnish with mini chocolate chips, crushed peanuts, or a drizzle of chocolate syrup if desired.
Cover the dish and refrigerate for at least 4 hours, or overnight, until fully set and chilled. Slice into squares and serve cold — the layers hold perfectly, and the flavors meld together into creamy perfection.
Essential Equipment
Must-Have Tools to Get Rolling
Here’s what you’ll want to have on hand:
Silicone Spatula – Durable, heat-resistant silicone spatula perfect for mixing, scraping, and spreading. Gentle on non-stick cookware and easy to clean.
Large pot – You’ll need this to boil the whole cabbage head and soften the leaves.
large bowl –Spacious, durable large bowl ideal for mixing, serving, or food preparation. Made from sturdy material and easy to clean.
Sharp knife – For coring the cabbage and slicing out the thick stem in each leaf. A paring knife works best.
Mixing bowl – A big bowl makes it easier to combine your meat and rice filling evenly.
Cutting board – For prepping cabbage leaves and rolling them like a pro.
9×13-inch baking dish – Ideal size to fit your rolled cabbage leaves snugly and prevent them from unraveling.
knife – A sharp, durable kitchen knife perfect for slicing, chopping, and dicing with ease.
Servings and timing
This recipe serves about 12–15 people. Preparation time takes roughly 25 minutes, with at least 4 hours of chilling required. For best results, prepare it the night before serving.
Storage/reheating
Store covered in the refrigerator for up to 5 days. For longer storage, freeze individual slices wrapped tightly in plastic wrap for up to 2 months. Thaw in the refrigerator overnight before serving. Since this is a no-bake dessert, avoid reheating — it’s best enjoyed cold and creamy.
Variations and Customizations
Chocolate Peanut Butter Lasagna – Add a layer of chocolate ganache between the peanut butter and pudding layers for extra decadence.
Oreo Peanut Butter Lasagna – Use Oreo cookies for the crust to enhance the chocolate flavor.
Nutella Layer – Mix a few tablespoons of Nutella into the peanut butter filling for a hazelnut twist.
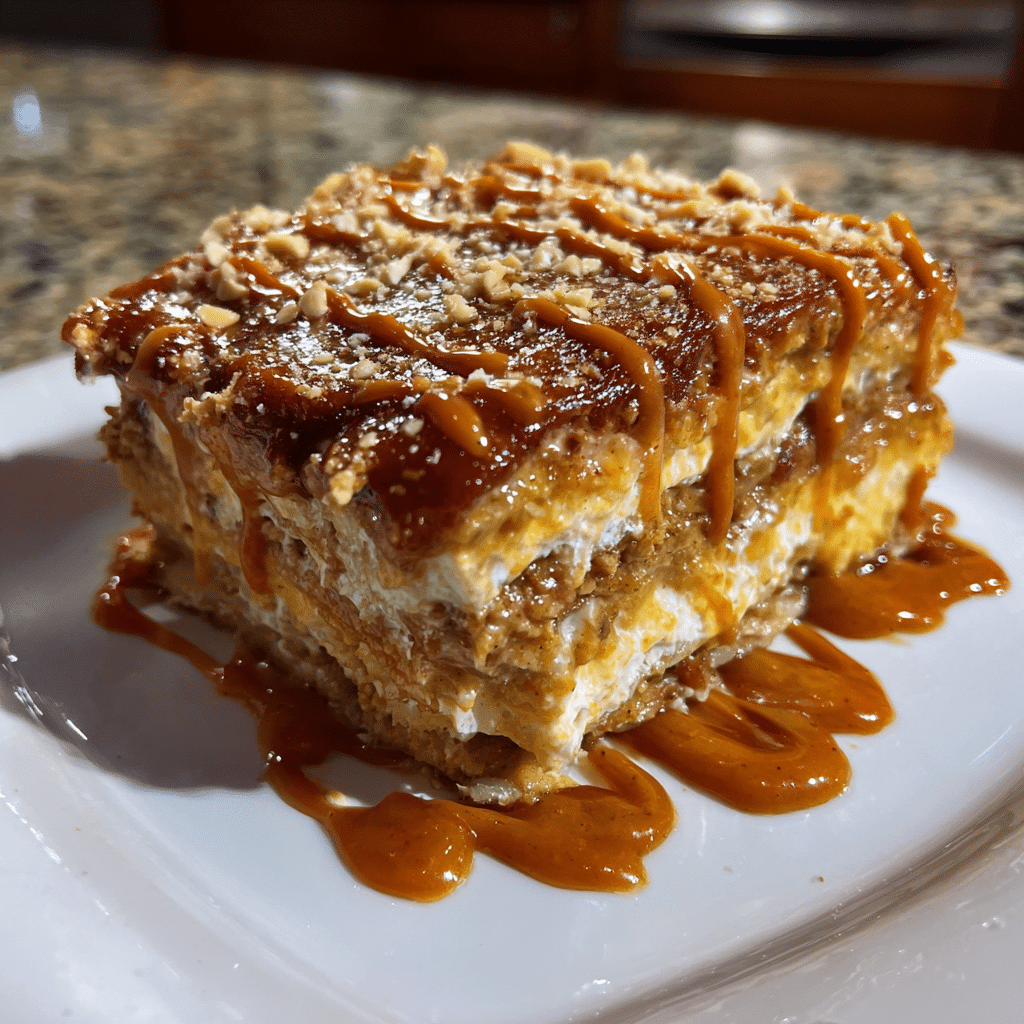
Salted Caramel Peanut Butter Lasagna – Drizzle salted caramel between layers for sweet-salty perfection.
Peanut Butter Cup Version – Top with chopped peanut butter cups for a truly indulgent finish.
Almond Butter Lasagna – Substitute almond butter for a milder, nuttier flavor.
Banana Peanut Butter Lasagna – Add a layer of sliced bananas between the peanut butter and pudding for a classic flavor combination.
Mocha Peanut Butter Lasagna – Mix a teaspoon of instant espresso powder into the pudding for a coffee-chocolate kick.
Vegan Version – Use dairy-free whipped topping, plant-based cream cheese, and almond milk to make it completely vegan.
Gluten-Free Version – Use gluten-free chocolate cookies for the crust.
FAQs
Can I use crunchy peanut butter?
Yes, if you enjoy texture, crunchy peanut butter adds a pleasant bite to the creamy layers.
Can I make this ahead of time?
Absolutely — it’s best made a day in advance so the layers can set perfectly.
Do I need to bake the crust?
No baking is needed; the butter holds the crust together once chilled.
Can I use homemade whipped cream instead of Cool Whip?
Yes, just whip heavy cream to stiff peaks with a bit of sugar and vanilla.
How long does it take to set?
At least 4 hours in the fridge, but overnight chilling gives the best texture.
Can I freeze this dessert?
Yes, freeze for up to 2 months. Thaw in the refrigerator before serving.
Can I use sugar-free pudding or cookies?
Yes, sugar-free versions work well if you want a lighter option.
What kind of milk should I use?
Whole milk gives the pudding the best creamy consistency.
Can I add a cheesecake layer?
Yes, blend cream cheese with peanut butter and whipped topping for an extra thick filling.
How do I slice clean squares?
Use a sharp knife dipped in warm water and wiped clean between cuts for neat slices.
Conclusion
No-bake peanut butter lasagna is the perfect dessert for when you want something rich, impressive, and effortless. With its luscious layers of chocolate, peanut butter, and cream, it’s a guaranteed crowd-pleaser that satisfies every craving. This dessert captures everything we love about peanut butter — creamy, nutty, and indulgent — all in a cool, velvety form that’s impossible to resist. Once you try it, you’ll see why it’s one of the best no-bake desserts out there — simple to make, stunning to serve, and absolutely unforgettable.
Looking for more tasty recipes? Visit our website for full details and follow us on Pinterest for daily food ideas to save and share